
Gardening in April
April is an exciting and hopeful time; buds start to appear on trees and crocuses pop through the soil. The first few warm, sunny days are a reminder of the oncoming summer. It can be tempting to jump into the garden the second we have a nice day, but it’s important to remember that the weather in spring is all over the place! There may be some beautiful, warm days but temperatures can still easily go well below freezing *sigh*.
While the warning of frost is still a very real threat, that doesn’t mean that you have to wait to get your hands in the soil. There are many crops that can withstand cold temperatures and hard frosts. Some examples of what to start in your garden in April are beets, broccoli, peas, and spinach.

How to Grow Peas
When to Plant
As soon as the ground can be worked you can sow peas. Even if it gets really cold the seeds will be fine. Peas thrive in the cold so the sooner you seed them the more pods you will get before the hot weather arrives!
Variety
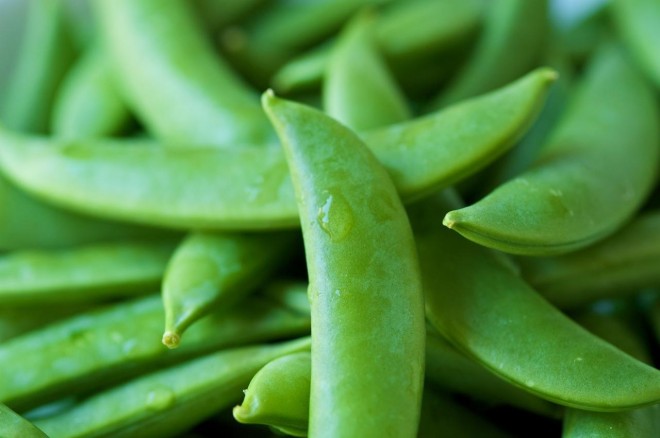
Choose the right variety for you. Do you want them for snacking? Snap peas may be your best bet because you can eat them whole and they are very sweet. If you’re looking for something to cook with then snow peas are a great option. You can eat them whole but they are tougher and less sweet than snap peas. They’re yummy in stir frys or steamed as a side dish.
There are both bush and climbing pea varieties. For bush peas you will still need some sort of support if you don’t want the plant to flop over and for climbing varieties this will simply need to be taller. A fence or pieces of twine attached to a wall or railing works well.

Choosing a Spot
Choose a spot in your garden that drains well – ideally a raised bed. Rotting seeds can be an issue if there is lots of snow melt and spring rain. It is a tricky balance with peas to give them an early start but to also avoid rot from the wet, spring soil.
Peas can withstand partial shade but should ideally get full sun 6-8 hours daily.
Prepping the Seed

It’s a good idea to soak seeds overnight (and no longer than 24 hours) to soften the hard shell of the seed and speed up germination. If you’re not planting into a raised bed and your soil is quite wet then don’t soak the seeds.
Inoculating seeds before planting is very beneficial to how much the plants will nourish the soil. As a member of the legume family, peas are nitrogen fixing which means they actually take nitrogen directly from the air using nitrogen fixing bacteria. Rhizobia bacteria have a symbiotic relationship with plants and are necessary for nitrogen fixation to take place. It may already exist in your soil (especially if you’ve already planted legumes there in the past), but adding legume inoculant is beneficial because increasing the bacteria means an increase in nitrogen fixing. There are several types of rhizobium bacteria and the one specific to peas (and beans!) is Rhizobium leguminosera. It can be found at most garden stores.
One simple way to use inoculant is to sprinkle the powder onto a plate and then pour the soaked seeds onto the plate and roll them around in the inoculant.
Planting
Sow seeds 1-2’’ deep and simply sprinkle them along the row by hand. Leave at least 12 inches between rows. There’s no need to thin them once they germinate. Sowing this thickly is effective because the plants shade out weeds and this helps to keep the soil cooler as well. It’s also a more efficient use of your garden!

Maintenance
Water pea plants deeply once a week making sure to never let the soil completely dry out. It’s especially important to water when blossoms are forming to ensure a good pea harvest. You will need to increase frequency of watering when temperatures increase.
Once the seedlings are a few inches tall you can mulch around them. This helps to keep the soil cool.
Harvest
It’s best to always use two hands when harvesting peas. Use one hand to hold the stem and one to pull off the pea. The roots are shallow and if you just yank at the plant it is very easy to pull it fully out of the ground (even a very tall and established plant!)

Harvest frequently to encourage the plant to keep producing – this means at least every other day! If you don’t pick the peas at the right time they will get tough and the plant will stop producing more. How do you know when they’re ready? Taste test!

Pests and Diseases
Aphids are the most common pests for peas. You can actually just spray them off with a garden hose (do this in the morning on a sunny day if possible to avoid the plants being wet overnight). Powdery mildew is the most common disease for peas and tends to take hold as the weather gets hot. To try and avoid this you can plant disease resistant varieties and make sure you don’t plant peas in the same spot in your garden every year – wait for 3 years to use that spot again.
What to Plant after Peas?
Make sure to choose a heavy feeder to go in the spot where you had peas once the plants are done producing. Heavy feeders are crops that require more nutrients than other plants. Examples of heavy feeders are tomatoes, peppers, eggplant, corn, cucumbers and squash.
Spinach
Spinach is an excellent option because it is quick growing (you can be harvesting in 6 weeks!)

In case you missed it in our last newsletter, here are some tips for growing spinach!
- Grows well in both sun and partially shady spots (if you plan on growing year round don’t pick a spot that will get too hot – spinach doesn’t tolerate heat well)
- Choose especially cold tolerant Savoy Spinach varieties like Bloomsdale, Giant Winter or Regiment
- Sow seeds 1/2 inch deep in loose, well draining soil
- Once seeds are about an inch tall, thin them to about 1-2 inches apart (for bigger plants thin more heavily). If you have room for multiple rows make sure you keep them about 6 inches apart.
- Spinach can handle a few hard frosts, but if there is a cold snap (colder than -8°C), cover the plants with row cover or other materials that work are blankets, a double layer of plastic sheets or even a bucket!
- Crops in containers are more vulnerable to cold snaps because they don’t have the heat retained in soil. If there is an especially cold night coming up, try to bring your garden
- containers inside or wrap them with something like an old blanket (several layers if possible!)
- Remember to uncover crops as soon as the low temperatures pass
- For a continuous spinach supply, plant seeds every 3 weeks (remember to choose more heat tolerant varieties for late spring and summer plantings)
Happy gardening everyone!
Recent Comments